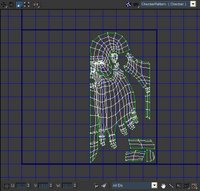
Here's the UV layout so far.
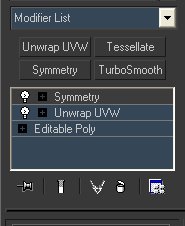
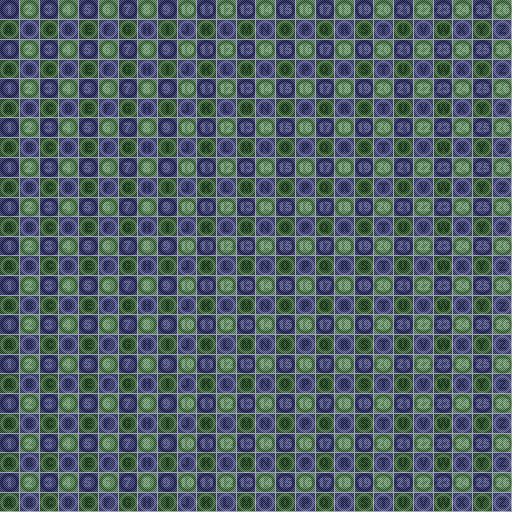
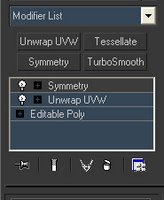
What I've got here is a very basic first pass on the UVs. I've been modelling so far with the symmetry modifier above edit poly in the stack. This gives me a quick preview of what the mesh will look like after its copied and flippped. Just be sure to turn off the "show cage option" in edit poly under Subdivision Surface...can't see a damn thing with it on. And also be aware of the the show end result toggle button which looks a little bit like a test tube right under the stack in the command panel. I want to keep the symmetry active when im uv mapping so I apply the unwrap uvw modifier inbetween the edit poly and symmery modifiers like so. You can turn off symmetry by clicking the light bulb icon to the left of the modifier. Be sure to also apply a nice checker texture to the model to easily check for distortion and flipped UVs etc, Steffen 'Neox' Unger has a great little checker download it
here and have a look at his excellent blog
here.
I then selected regions of the mesh using face selections either directly on the 3d model in the viewport, or in the UV editor window (hit the EDIT button in the UVW unwrap command panel). Try to select regions where a natural seem occurs, like a seam on cloths where the garment has been stitched together, in between two different garments/materials or even a seam between hair and skin (although the latter isn't a great example and should be avoided if at all possible). Once I've selected a region I hit the Planer button and unclick Normalize Map.
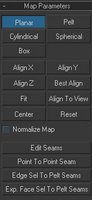
Make sure you deselect the planer button and then select either best align or an appropriate axis (x,y,z) after it has planer mapped your selection (this happens to be one of THE most annoying things about mapping in max currently, why the hell it doesn't just click once like every other button is a mystery).
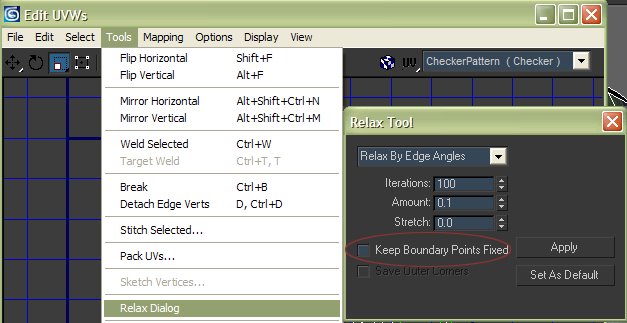
Now relax the element by selecting the relax tool from the UV edit window menu like so...
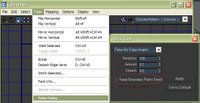
You can toggle on keep boundary points fixed to keep your edges free from getting relaxed. This is useful for areas like the eye and mouth and the centre line of the head if you are using symmetry.
Move the planer mapped element out of the way for the moment and move onto the next piece. If you like keyboard shortcuts for everything like me you will have to manually setup keys for the Unwrap UVW modifier as it doesn't match up with edit poly shortcuts by default. I usually stitch together elements maually using the target weld uv tool (shortcut to t) but this is because most of the global weld functions cause problems with the scale I have to work with.
That pretty much brings us to the first image, I'll continue on with this tomorrow.